Creating an interactive Virtual Reality (VR) project from scratch is much easier than you think. Especially because nowadays there are no coding skills required to do so. Additionally, there are more quality free resources available today than ever before to help you hit the ground running with your new VR project.
To save you time and put you right ahead of the pack we created this resource guide with only the best free resources available in the Virtual Reality world today.
Please still be aware that even though something is free, it might not automatically mean that you can use it for your purposes. Our advice is to always check licensing rights (especially for commercial use) and attribution regulations.
Step 1: Idea generation
If you want to get started with VR and VRdirect but have no idea what kind of experience you want to create in the first place, you can always get some inspiration from existing projects and content. The following two resources offer you an enormous collection of material that you can work through to generate the perfect idea for your Virtual Reality approach.
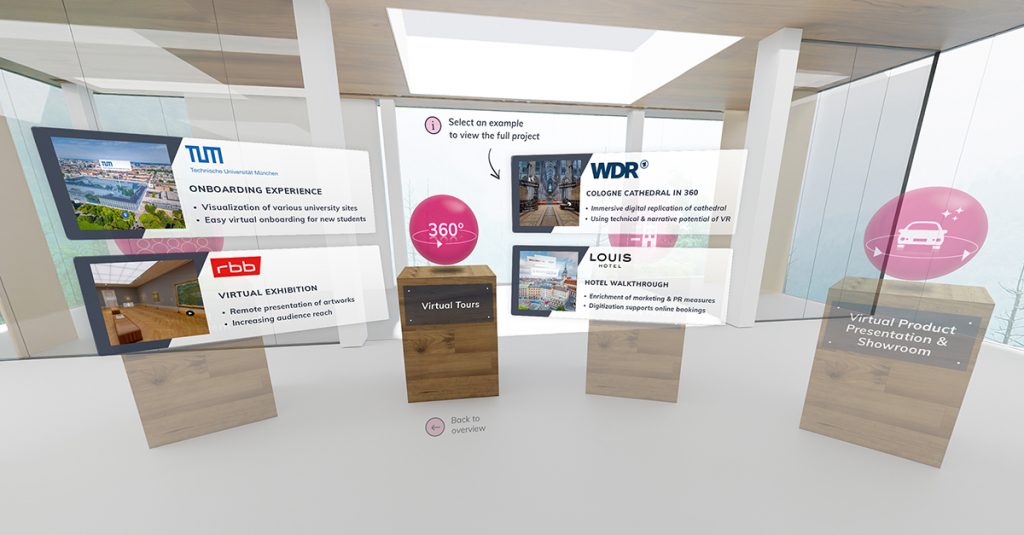
Virtual Reality has great potential to be used profitably in all industries. VRdirect enables business scenarios ranging from virtual tours to training & education, marketing & sales and product visualization. Explore our VR showroom and learn how you can leverage Virtual Reality for various use cases in your business.
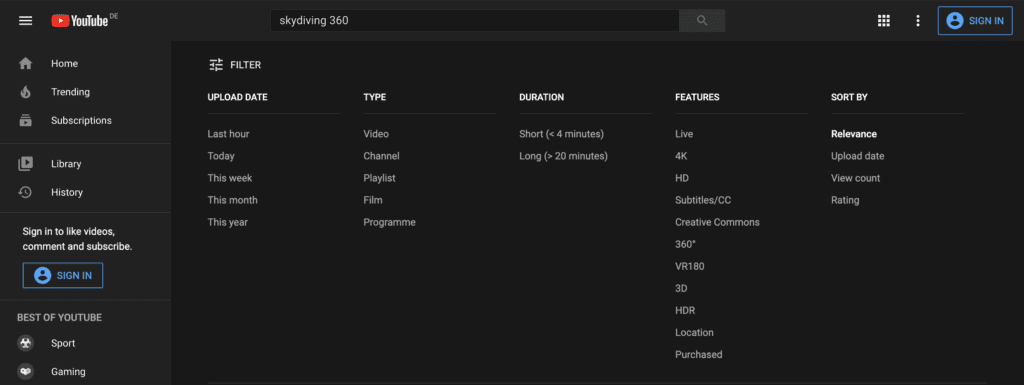
If you want to take it one step further and want to see what is possible in terms of 360° video, you can use the Youtube and Facebook search to find 360° video content and watch them for free in your browser.
For Facebook, just add “360” to your search term – if you are looking for 360° skydiving videos for example just search for “Skydiving 360” and you will find multiple 360° videos.
On Youtube, the search for 360° content works even better. Input your search term and afterwards use the “Filter”-tab of the Youtube search to display 360° videos. You can also apply multiple filters in order to, for example, show videos with the most views first.
Please note that these 360° videos are not interactive experiences but merely nice 360° videos that users consume passively.
Step 2: Wireframing and Storyboard
Every great Virtual Reality experience starts off first with a plan of action, even if that plan is rudimentary and minimalist at first. All you need to get started is a simple storyboard (physical paper or digital paper, it makes no difference) to act as the foundation that the rest of your VR world will be built upon.
After you’re done sketching your user experience it’s now time to create your storyboard. A storyboard is a shot-by-shot visual plan that shows what a film will look like before the film is shot. Working with a storyboard is very important so you don’t miss out on any important shots when filming your footage. If you are producing your Virtual Reality project for someone else, you should definitely consult your client about the storyboard first before you start producing.
If you’ve never worked with storyboards and don’t know how to make one, head to the ACMI website for a free crash course
Step 3: Footage and content
You should now have a clear idea of what kind of story you want to tell and what media and content you need for that. For Virtual Reality projects, the basis will always be 360° photo or video content or something that was rendered out in 3D.
360° Photo or Video Content:
The Street View App lets you create 360° photos directly with your smartphone – for free and without any additional hardware. Just open the app on your iOS or Android device and click on “Create” and take a series of photos. The photos are taken automatically and once you’re done, the app does all the stitching work for you. After the stitching is done, the 360° photo will be automatically saved to your smartphone and can then be integrated into your Virtual Reality project.
iOS: https://itunes.apple.com/us/app/google-street-view/id904418768
Android: https://play.google.com/store/apps/details?id=com.google.android.street&hl=en
Stitching Software
If you already have a 360° camera, the stitching often comes with it for free, e.g. the THETA stitching app (for Ricoh Theta cameras) or the Insta360 Pro STITCHER (for Insta cameras).
Editing 360° Content:
GIMP is a free software for photo editing. With the open source image editor, you are able to use a wide range of photo editing tools. By adjusting the contrast, color saturation, brightness or other parameters, you can make your 360° photos look more professional.
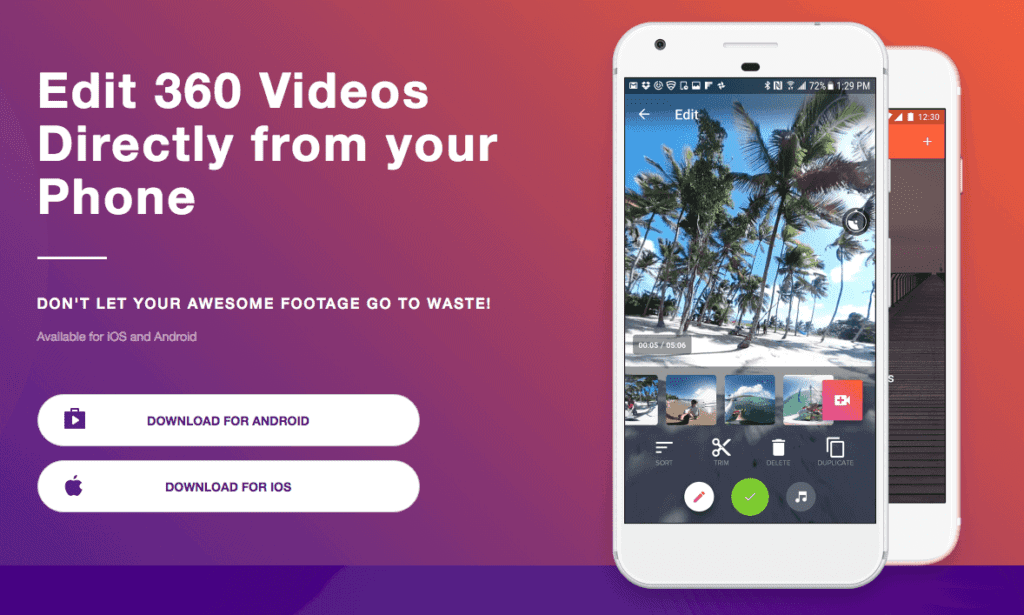
While 360° photo content can be edited with many free image editing tools, this is not the case for 360° video and it’s not too easy to find a good solution even for basic editing such as trimming.
3D Animations and Models:
Although you don’t need any fancy looking 3D-animations to create a stunning and interactive VR experience, some people still want to use them or even have to. With 3D-animation, computer graphics are used to give the impression of objects moving and being in a three-dimensional space.
At the same time, using 3D models of rooms or halls can give you just the look you’re searching for when taking 360° photos yourself is not an option.
Blender is a free and open-source 3D creation software. If you don’t have access to 360° footage or need parts of your experience to be created in 3D, blender is an ideal way to get started and create your first 3D models. There are thousands of tutorials online that can help you create exactly the 3D models that you need.
Other software tools might offer more advanced features for creating 3D models, but if you’ve never used a 3D modeling tool, you can probably do everything you need to do without the more advanced ones. Also, other and more advanced software tools aren’t free most of the time.
Blender is more than suited to create your very first 3D models for your VR experience and we would definitely recommend taking a look at it. Sure – it might take you some time to really get started, but that’s the case for almost any software.
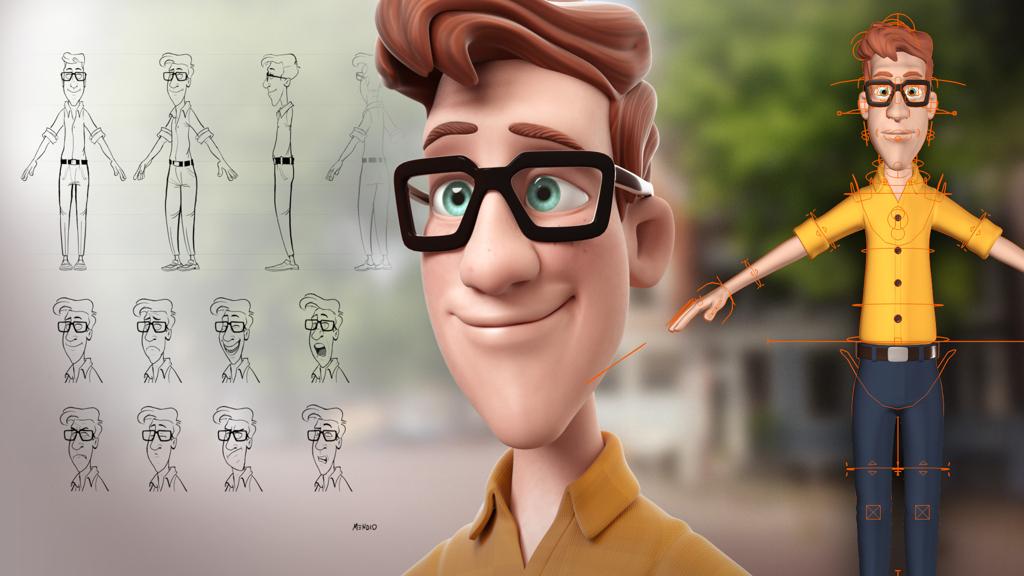
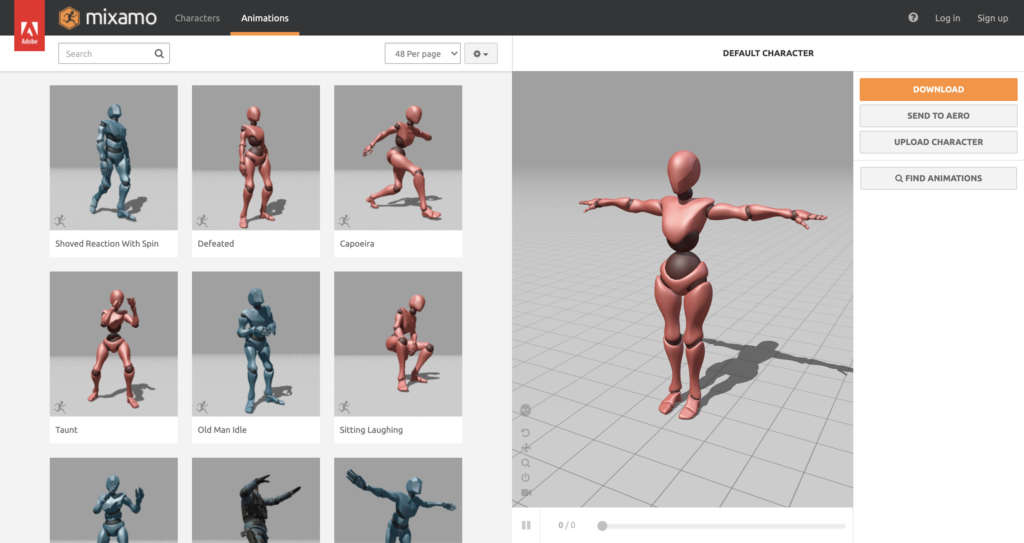
Mixamo is an Adobe tool for 3D character creation and animation. It contains a free library of rigged and animated characters that can easily be imported to your 3D software (e.g. Blender). Using this tool is completely free – all you need is an Adobe ID. A Creative Cloud subscription is not required. If you ask us, Mixamo is a great way to work with pre-designed characters and animations.
Please note, however, that the current version of VRdirect Studio does not allow insertion of 3D objects. You’ll have to render them out as MP4, PNG or JPEG or integrate them directly into the background, which you’ll then be able to import as a video or an image.
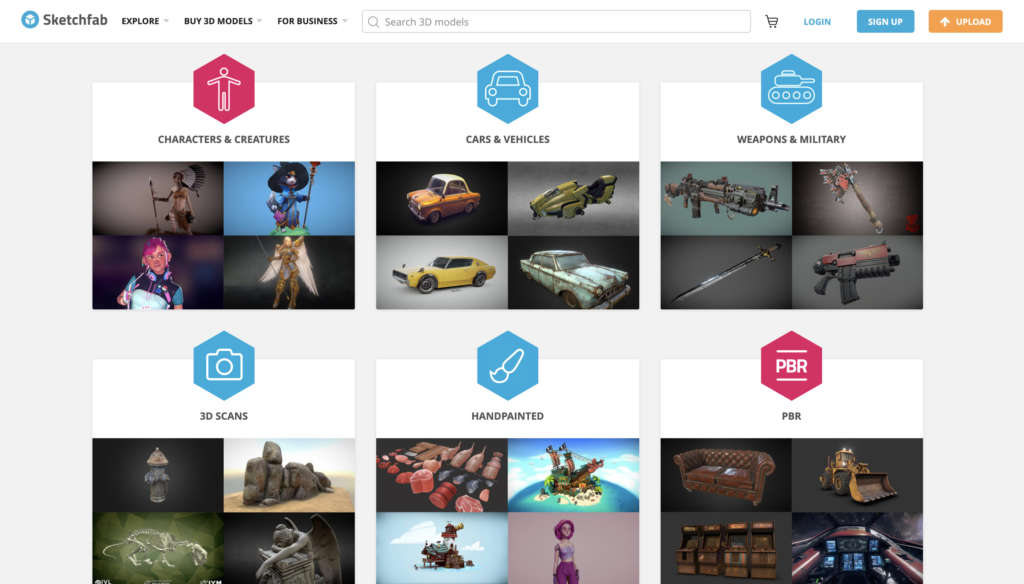
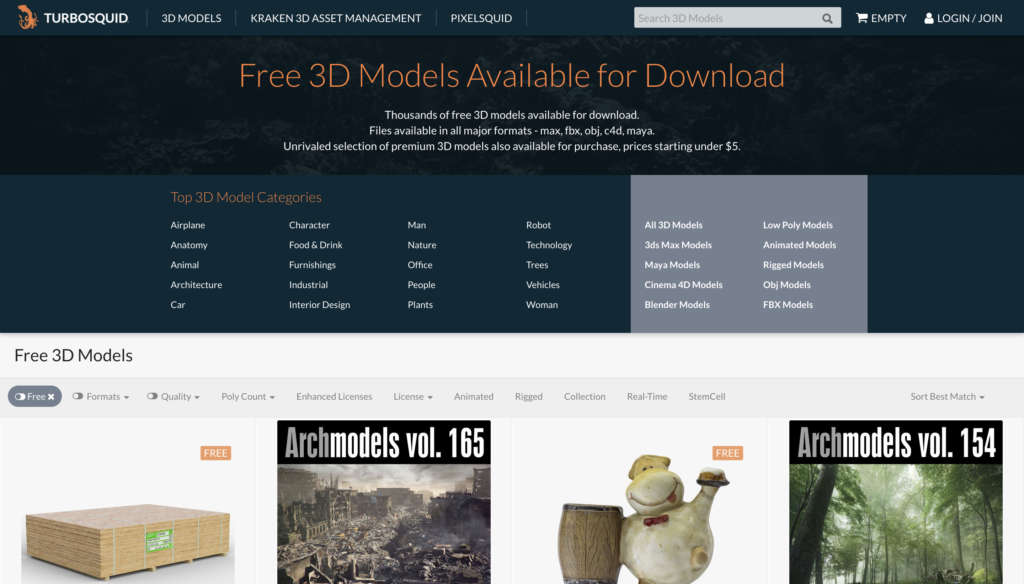
Just like Sketchfab, Turbosquid offers a library with 3D models, but focuses on full rooms and 3D-modelled places next to characters. A lot of models are available for free and can be downloaded as an .fbx file that can be rendered in any 3D software before importing it to VRdirect Studio. If you want to know more about the VRdirect Studio schedule a free demo with us.
Step 4: 2D-Elements and Graphics
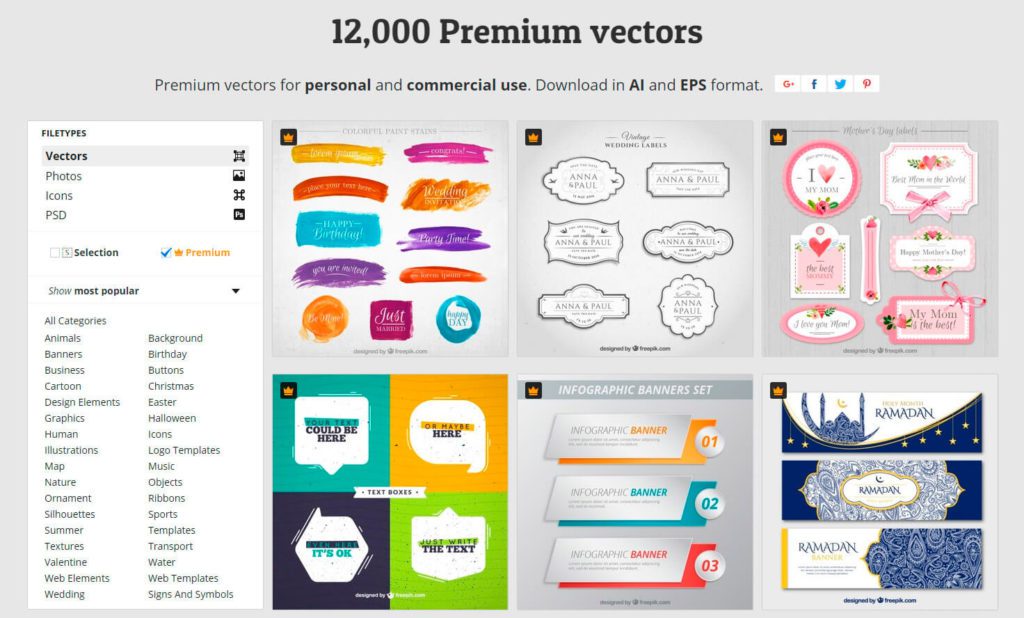
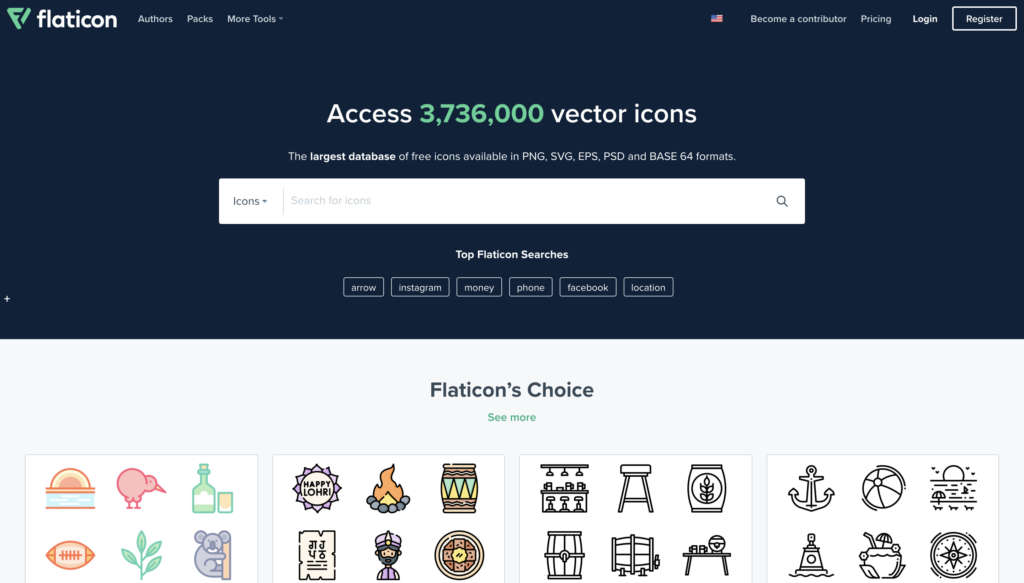
A great place to get access to such icons that you can freely use in your projects is iconmonstr.com. The website hosts over 4237+ free icons that you can download as .png graphics in your preferred resolution and color or as .ai to use it as a vector graphic. The license of iconmonstr.com grants you every right you need to have: use the downloaded icons in non-commercial and commercial projects, services or products without attribution in any media.
After you’ve downloaded your .png icon you can just import it to VRdirect Studio and use it for your interactive elements.
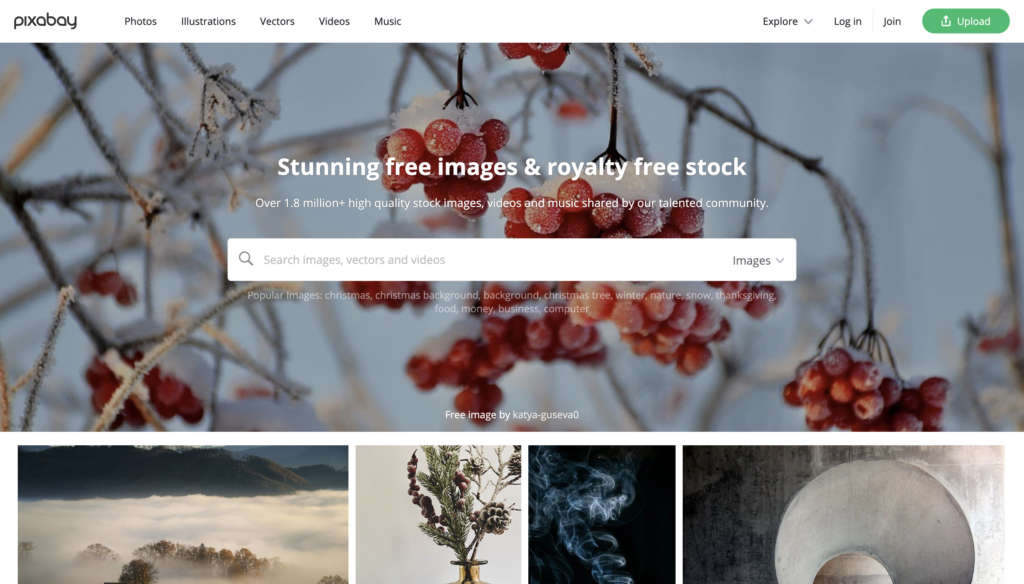
Lastly, Pixabay is a great source for free photos, illustrations as well as videos and music. Here you can also find full-body shots of people that you can cut out in order to integrate them into your Virtual Reality project – for example as a staff member at the front desk with a speech bubble who greets users. Most of Pixabay’s assets are licensed for commercial use and require no attribution of the creator.
Step 5: Audio
Music:
Sound effects:
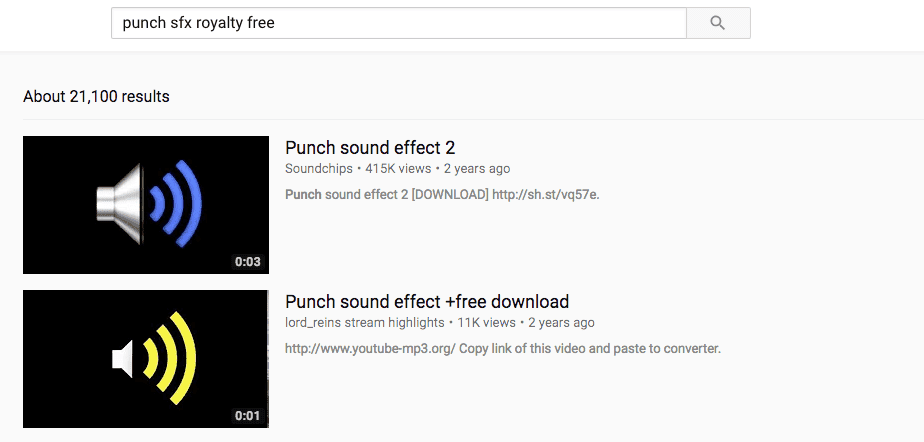
The answer might be simpler then you’d expect, but using YouTube’s search function to find royalty free sound effects works pretty well. Just search for your desired sound (e.g. “punch”) and add the term “sfx royalty free”.
You will find many videos including download links. Again: make sure to read the whole video description or visit the website of the creator (if one is declared) to make sure under what conditions the effect is free to use in your project.
FreeSFX offers a huge library of free sound effects and even some entire music tracks that you can use for your Virtual Reality experience. All you need is a free account – then you can download the needed tricks as MP3 files that can be directly imported to VRdirect Studio.
Editing:
Step 6: Putting it all together & Publishing
So you’ve worked yourself all the way through and have got everything ready that you need to create an immersive interactive Virtual Reality project? Then it’s time to put it all together. And that’s where VRdirect Studio comes into play.
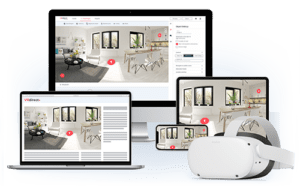
VRdirect Studio is a vr software that lets you create and publish your own professional interactive 360°/VR projects. VRdirect Studio is available for Windows and Mac. It is an easy-to-use drag & drop editor that lets you create interactive 360° projects within minutes. We have created a complete user guide on how to use our Studio so you can convince yourself:
Create an account and use the VRdirect Studio for free within our free trial period. During that time you may create and preview as many projects as you like and even publish a project for demo purposes.
And this is it. You have just created an interactive VR project that you can show to your audience, just by using free resources. Isn’t that amazing? We think so too.
If you have any questions regarding your Virtual Reality projects, feel free to contact us anytime!
