We are very proud to announce, that we just released a new version of the VRdirect Builder. The latest improvements include two new features, which were brought to us directly from the VRdirect community! A good time to say thank you for your support and please keep sharing your ideas with us. Let’s dive into it:
Timesaver – Automatic Image Resizing
We think this is a great relief for many of our users and really improves the workflow of importing images into the Builder. Previously, you had to prepare all your assets beforehand and size them manually so they fit within the requirements. We know that this led to a lot of extra work, which was very time consuming, especially if you plan to build a VR experience with more than 3 nodes.
Say hello to our latest feature: the Image Resizing Tool. This handy tool converts your images automatically to the right size without affecting the quality. And it is fairly easy to use. You simply import your images as you used to do and if they don’t have the right dimension, you are prompted with an option to resize them. Just hit the button and move on with your project! The files will be saved as scaled versions of your original files in the project folder and the media paths will stay the same.
And by the way: if you want to learn more about the different video and image file types you can use to create an experience, have a look at our blog post about stereoscopic vs. monoscopic formats.
Preview & Publish your Experience with Default Assets
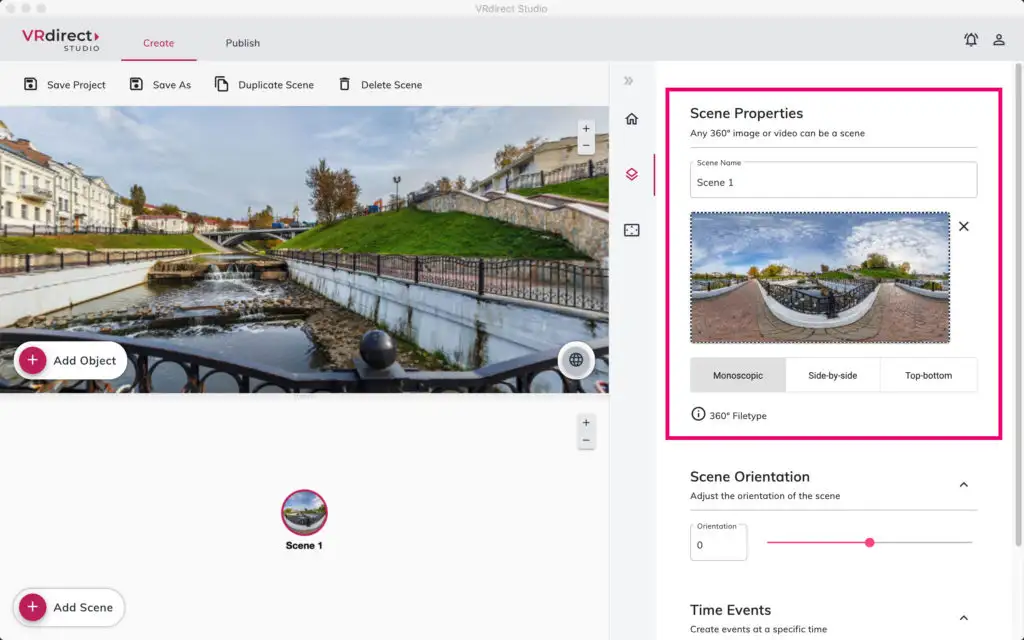
After importing your 360° or CAD footage into the Builder, you probably want to preview the scenes as soon as possible to get a first impression of the project you’re going to build. Until now, this wasn’t very straight forward, because you had to select a media path for every interactive element and node. But usually at this point in time, you simply want to see if it works and for example, see if the transitions make sense.
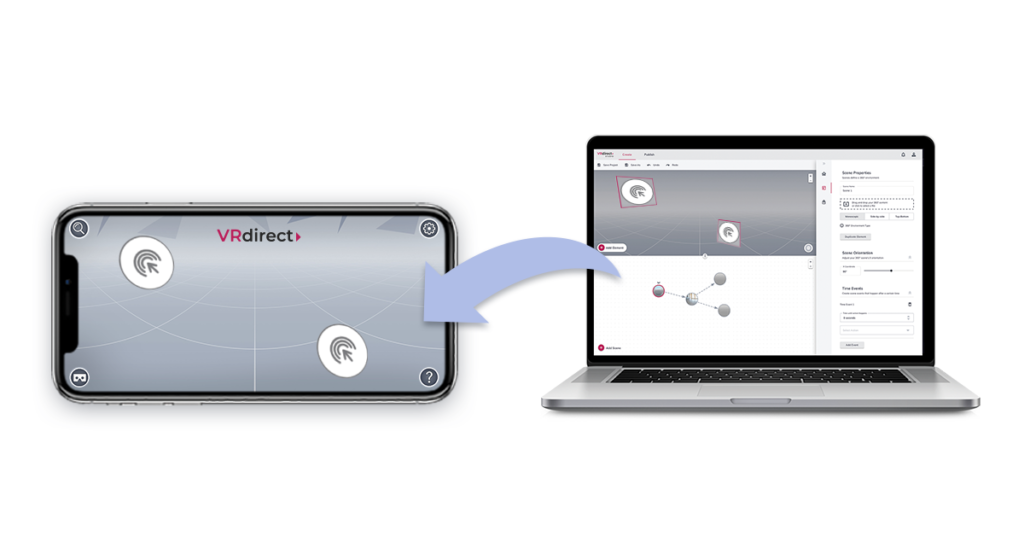
With our new Default Asset Feature, this belongs to the past. Now, you can simply create a few nodes, important some of your images and videos, add interactive elements and just start the preview. You will see a window popping up, that tells you that some of your elements do not contain any assets. But guess what? You can start the preview anyways, because the experience will use our default assets! The default asset feature works for interactive elements and environments and you can even publish with default assets.
Hint: If you quickly want to create buttons for your VR project, but you’re everything other than a graphic designer, have a look at our small guide to create interactive elements with Powerpoint (scroll to the end of the post).
So what are you waiting for?
Open the builder now and start working on your new Virtual Reality project. Your builder version will automatically update to the latest version. And if you haven’t signed up for an account yet, click here to start with a free trial license or book your personal and free demo session. We are happy to show you how easy it is to create VR!
